



Kondisi : BARU
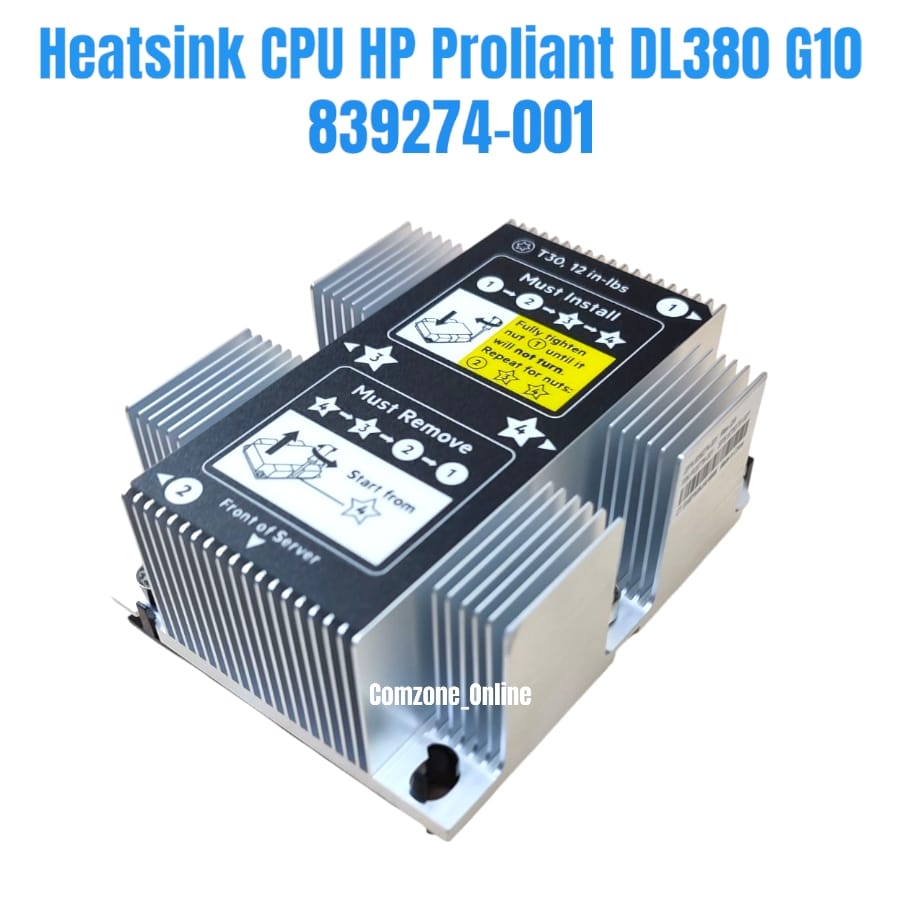
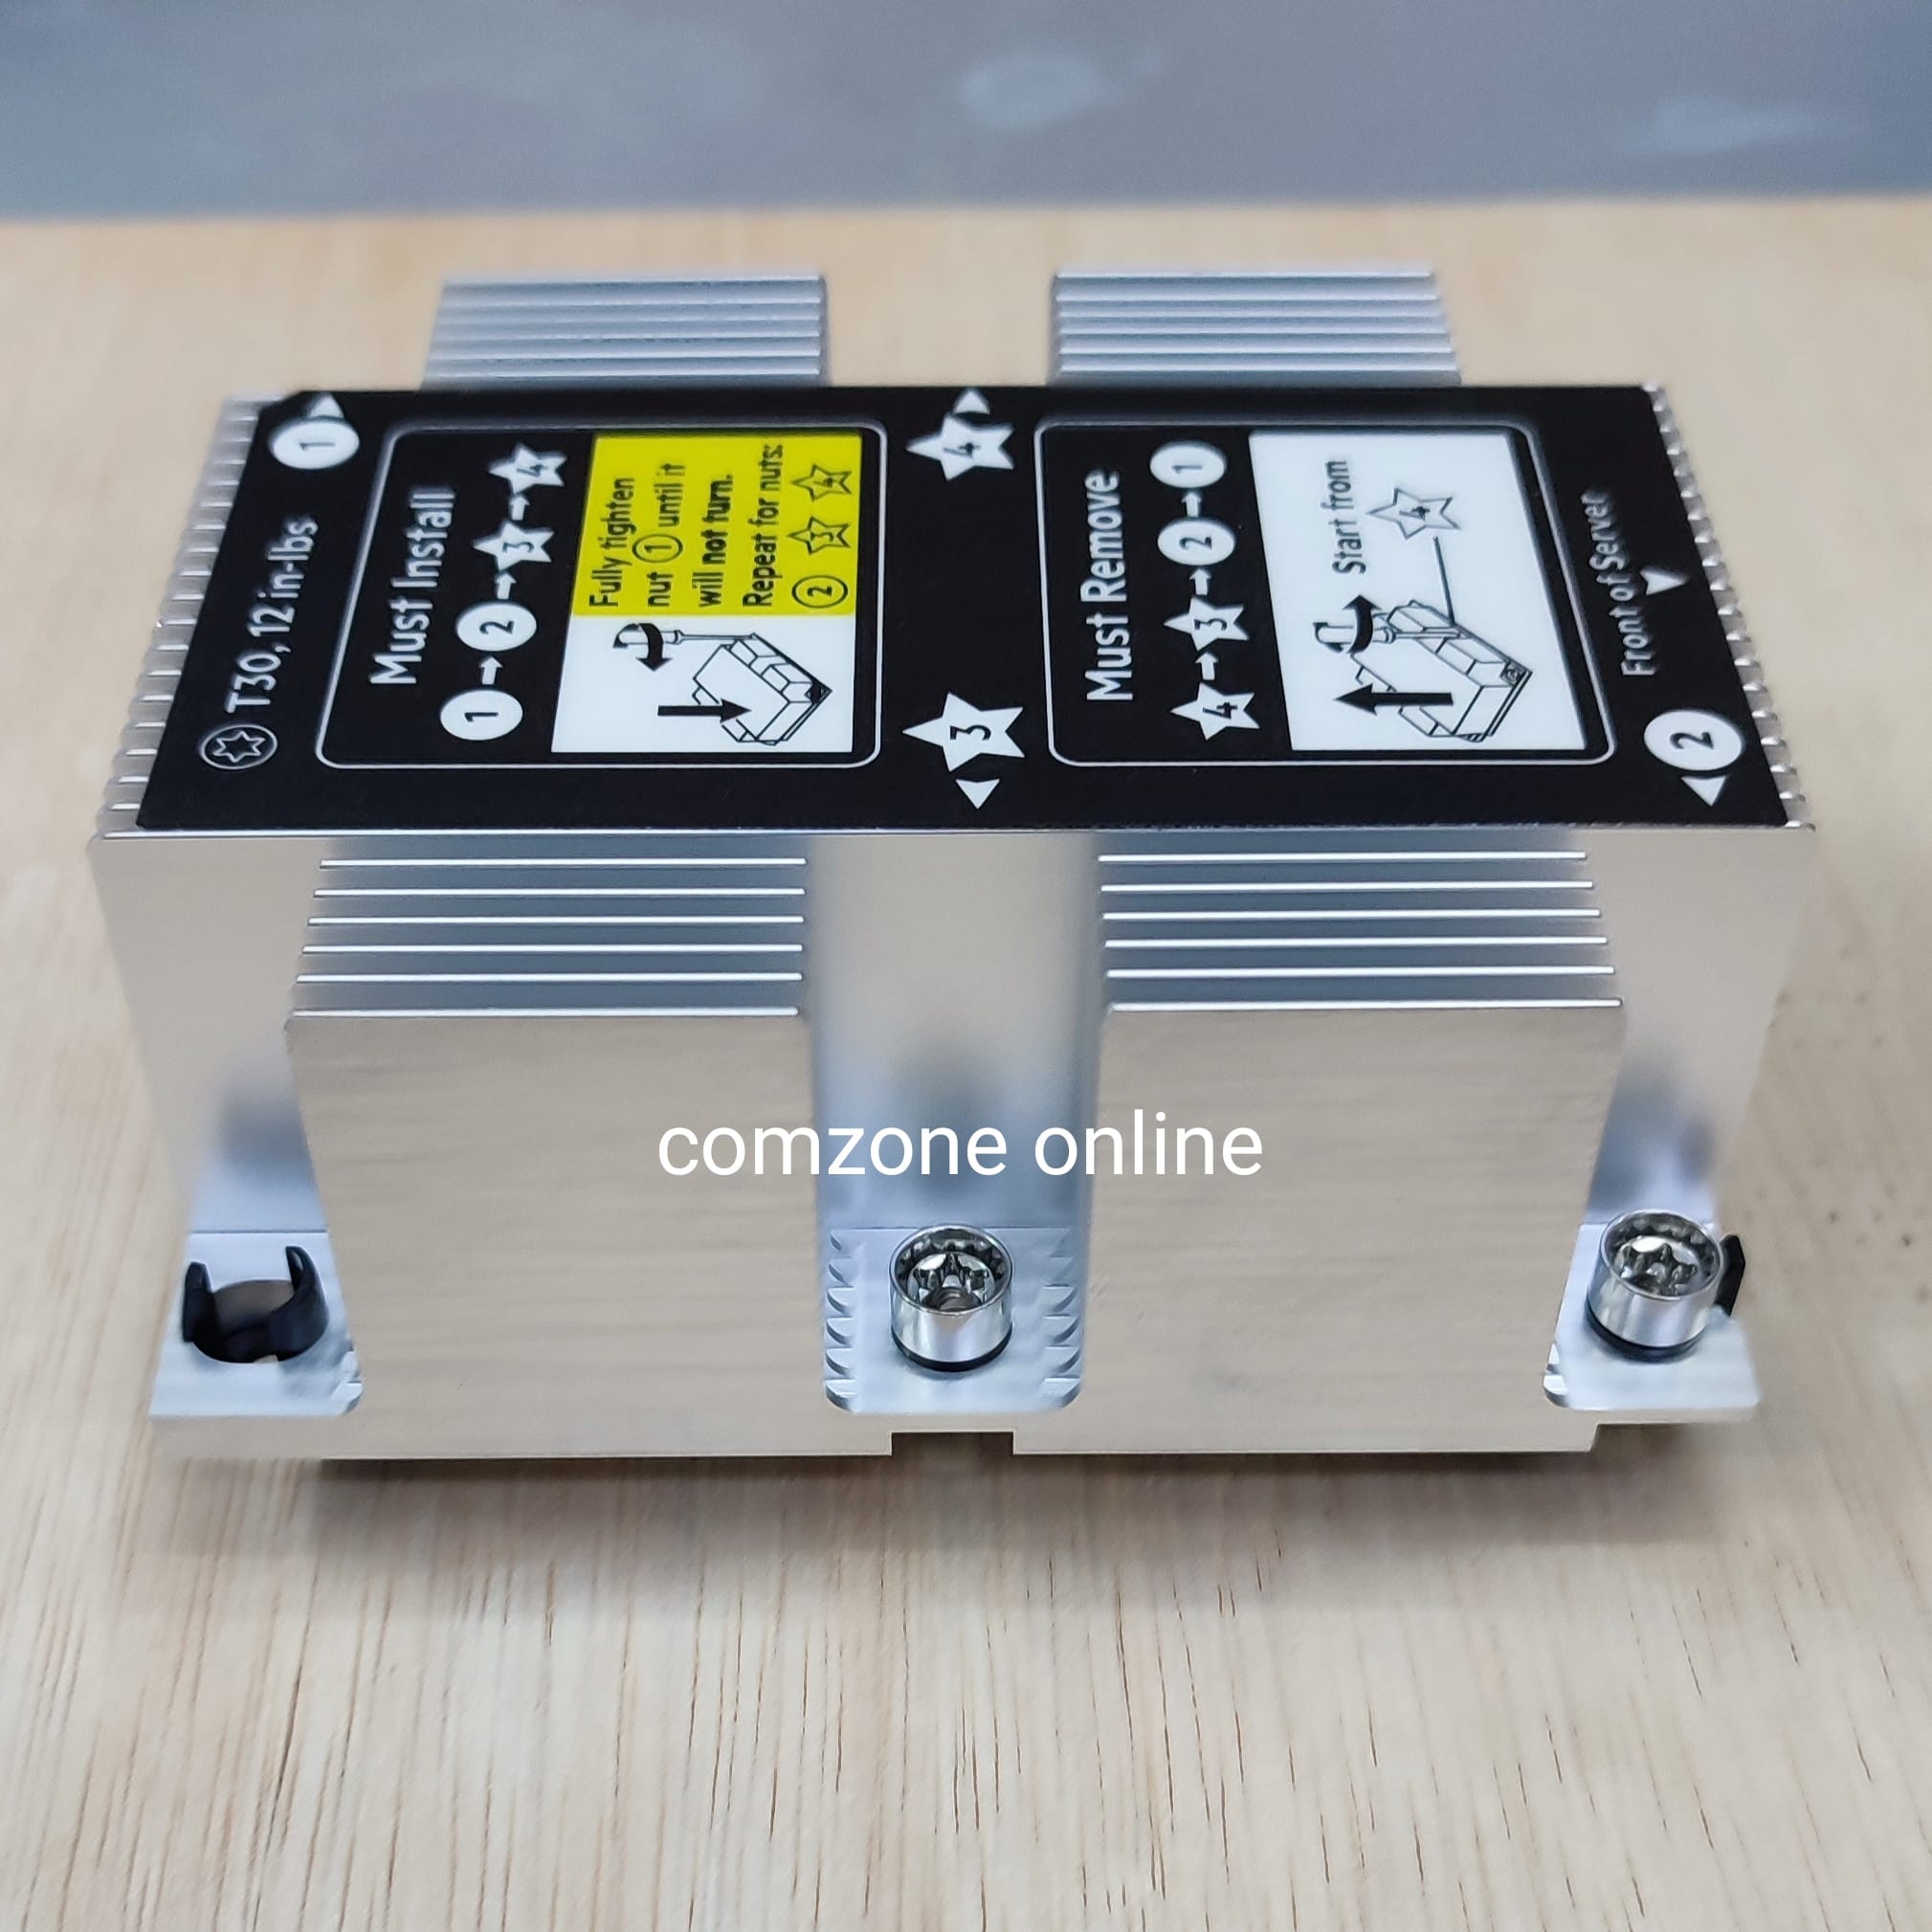
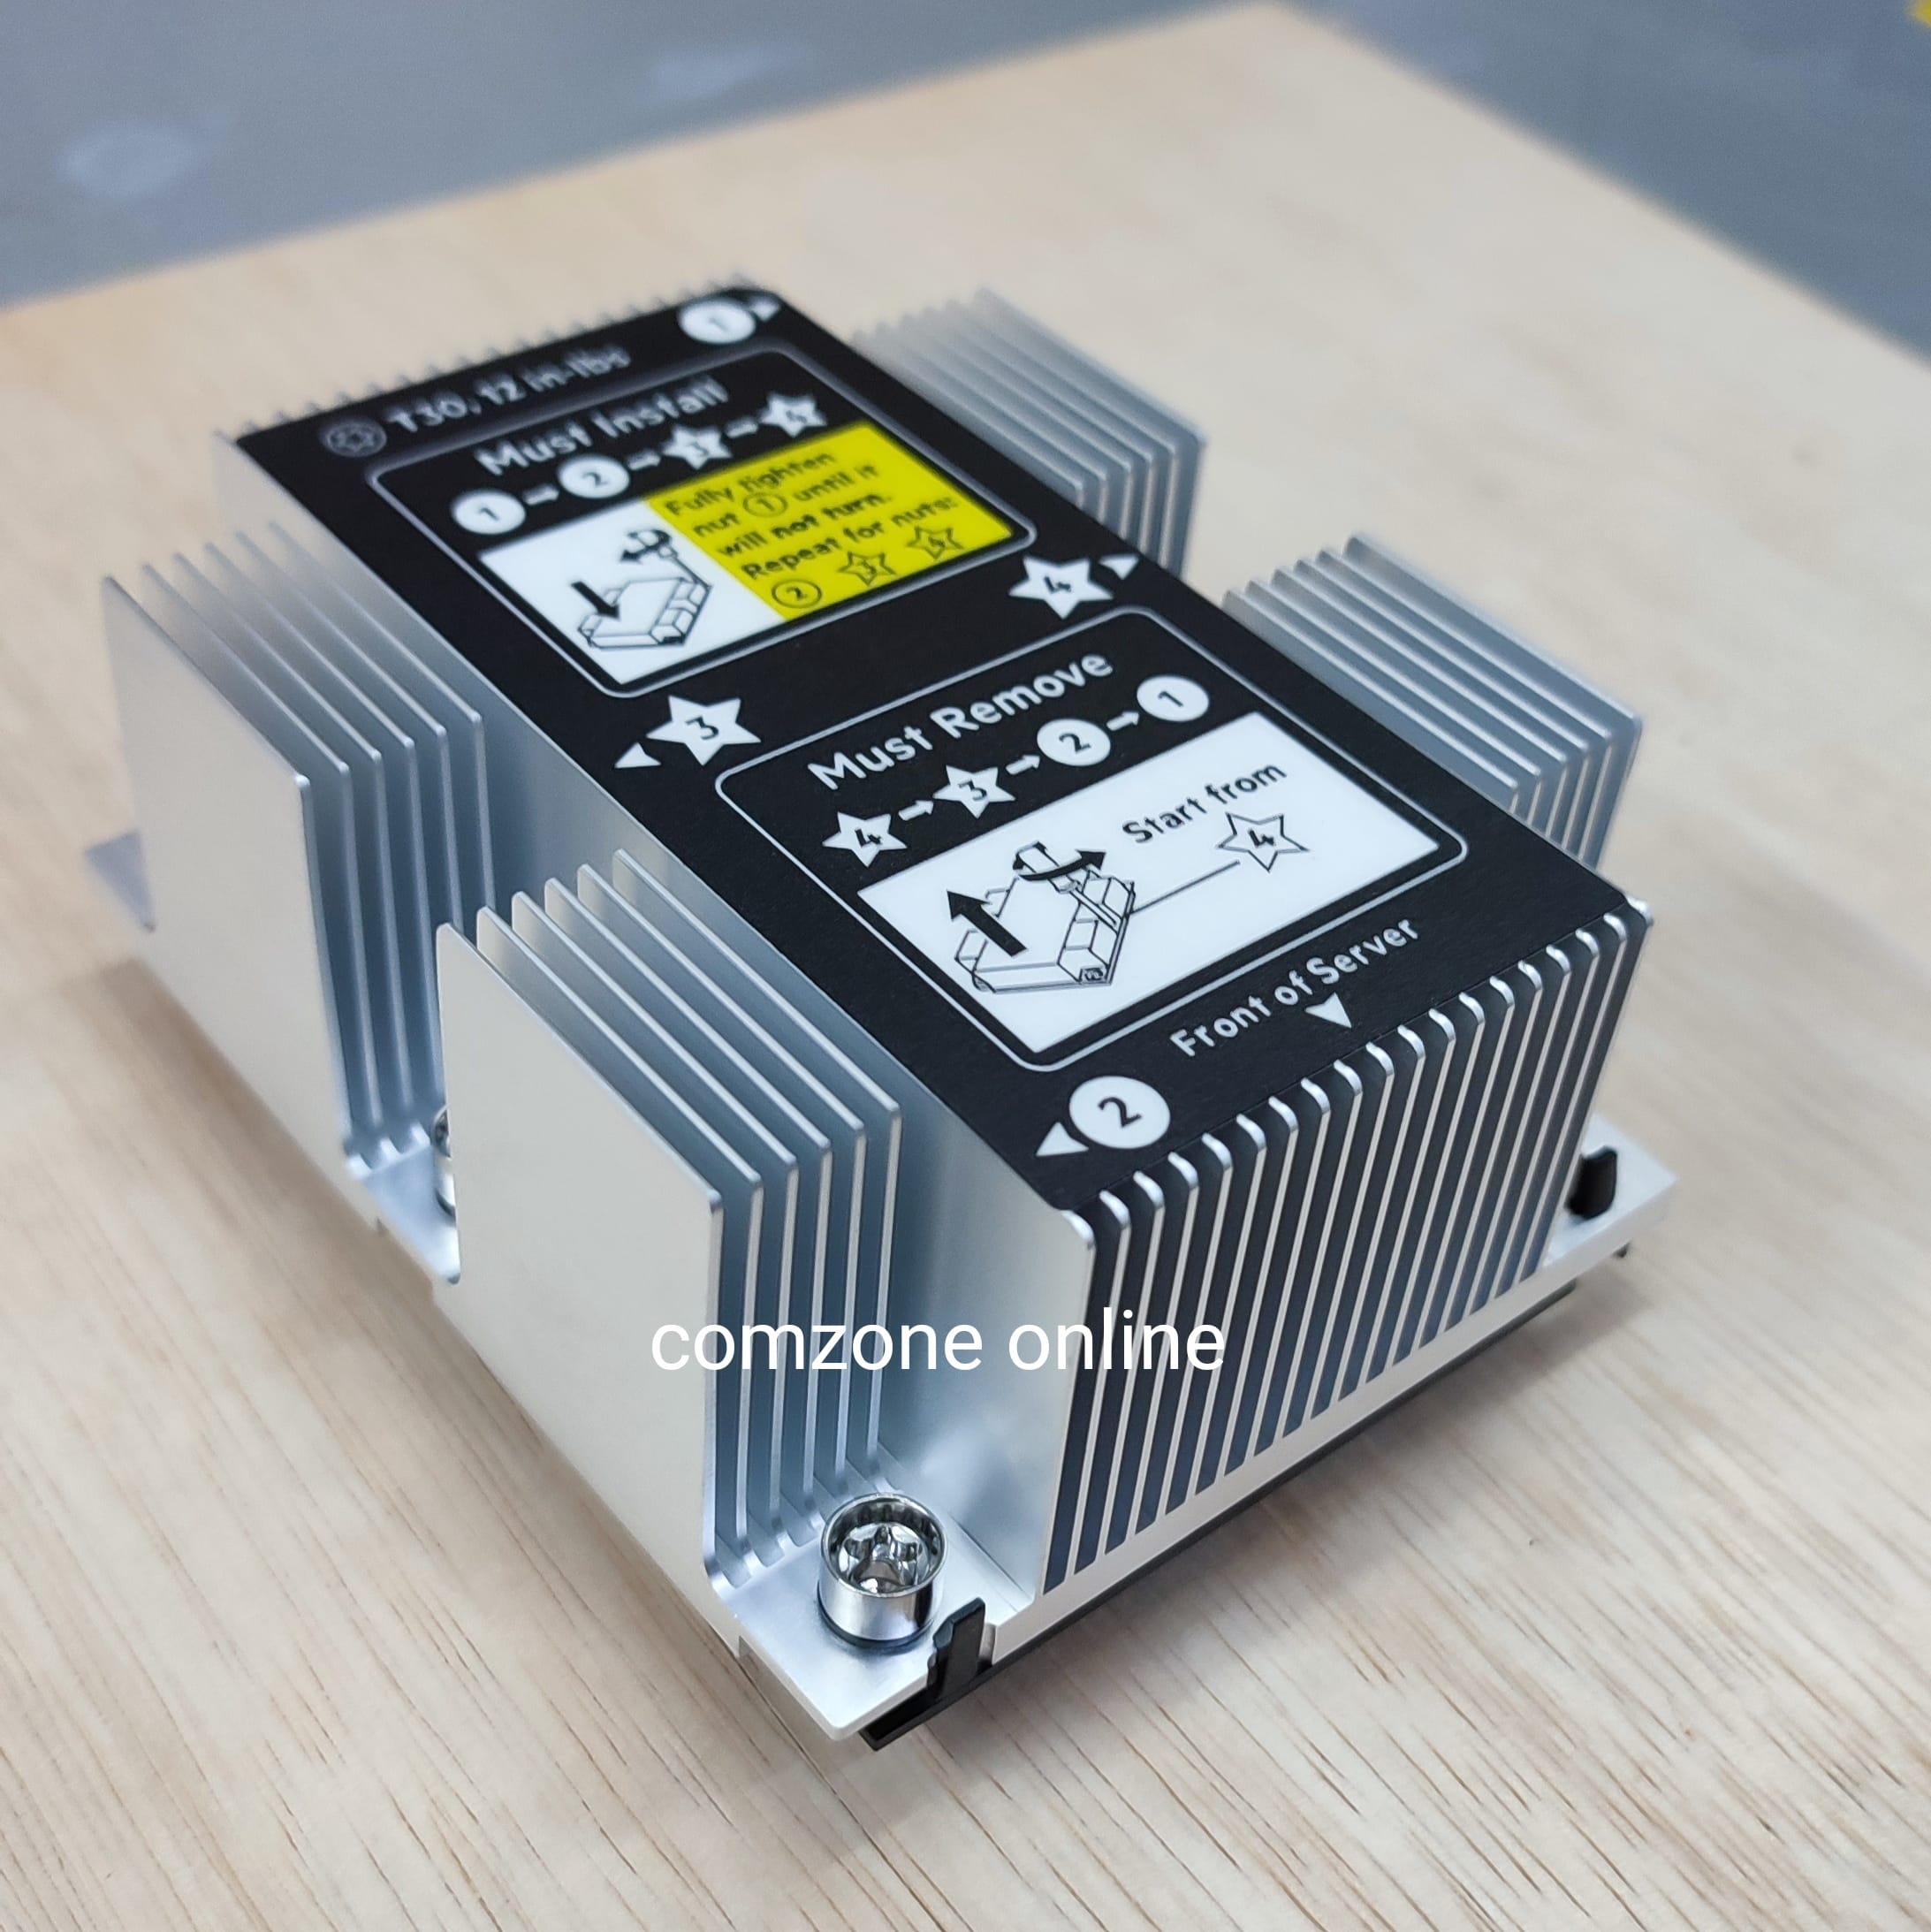
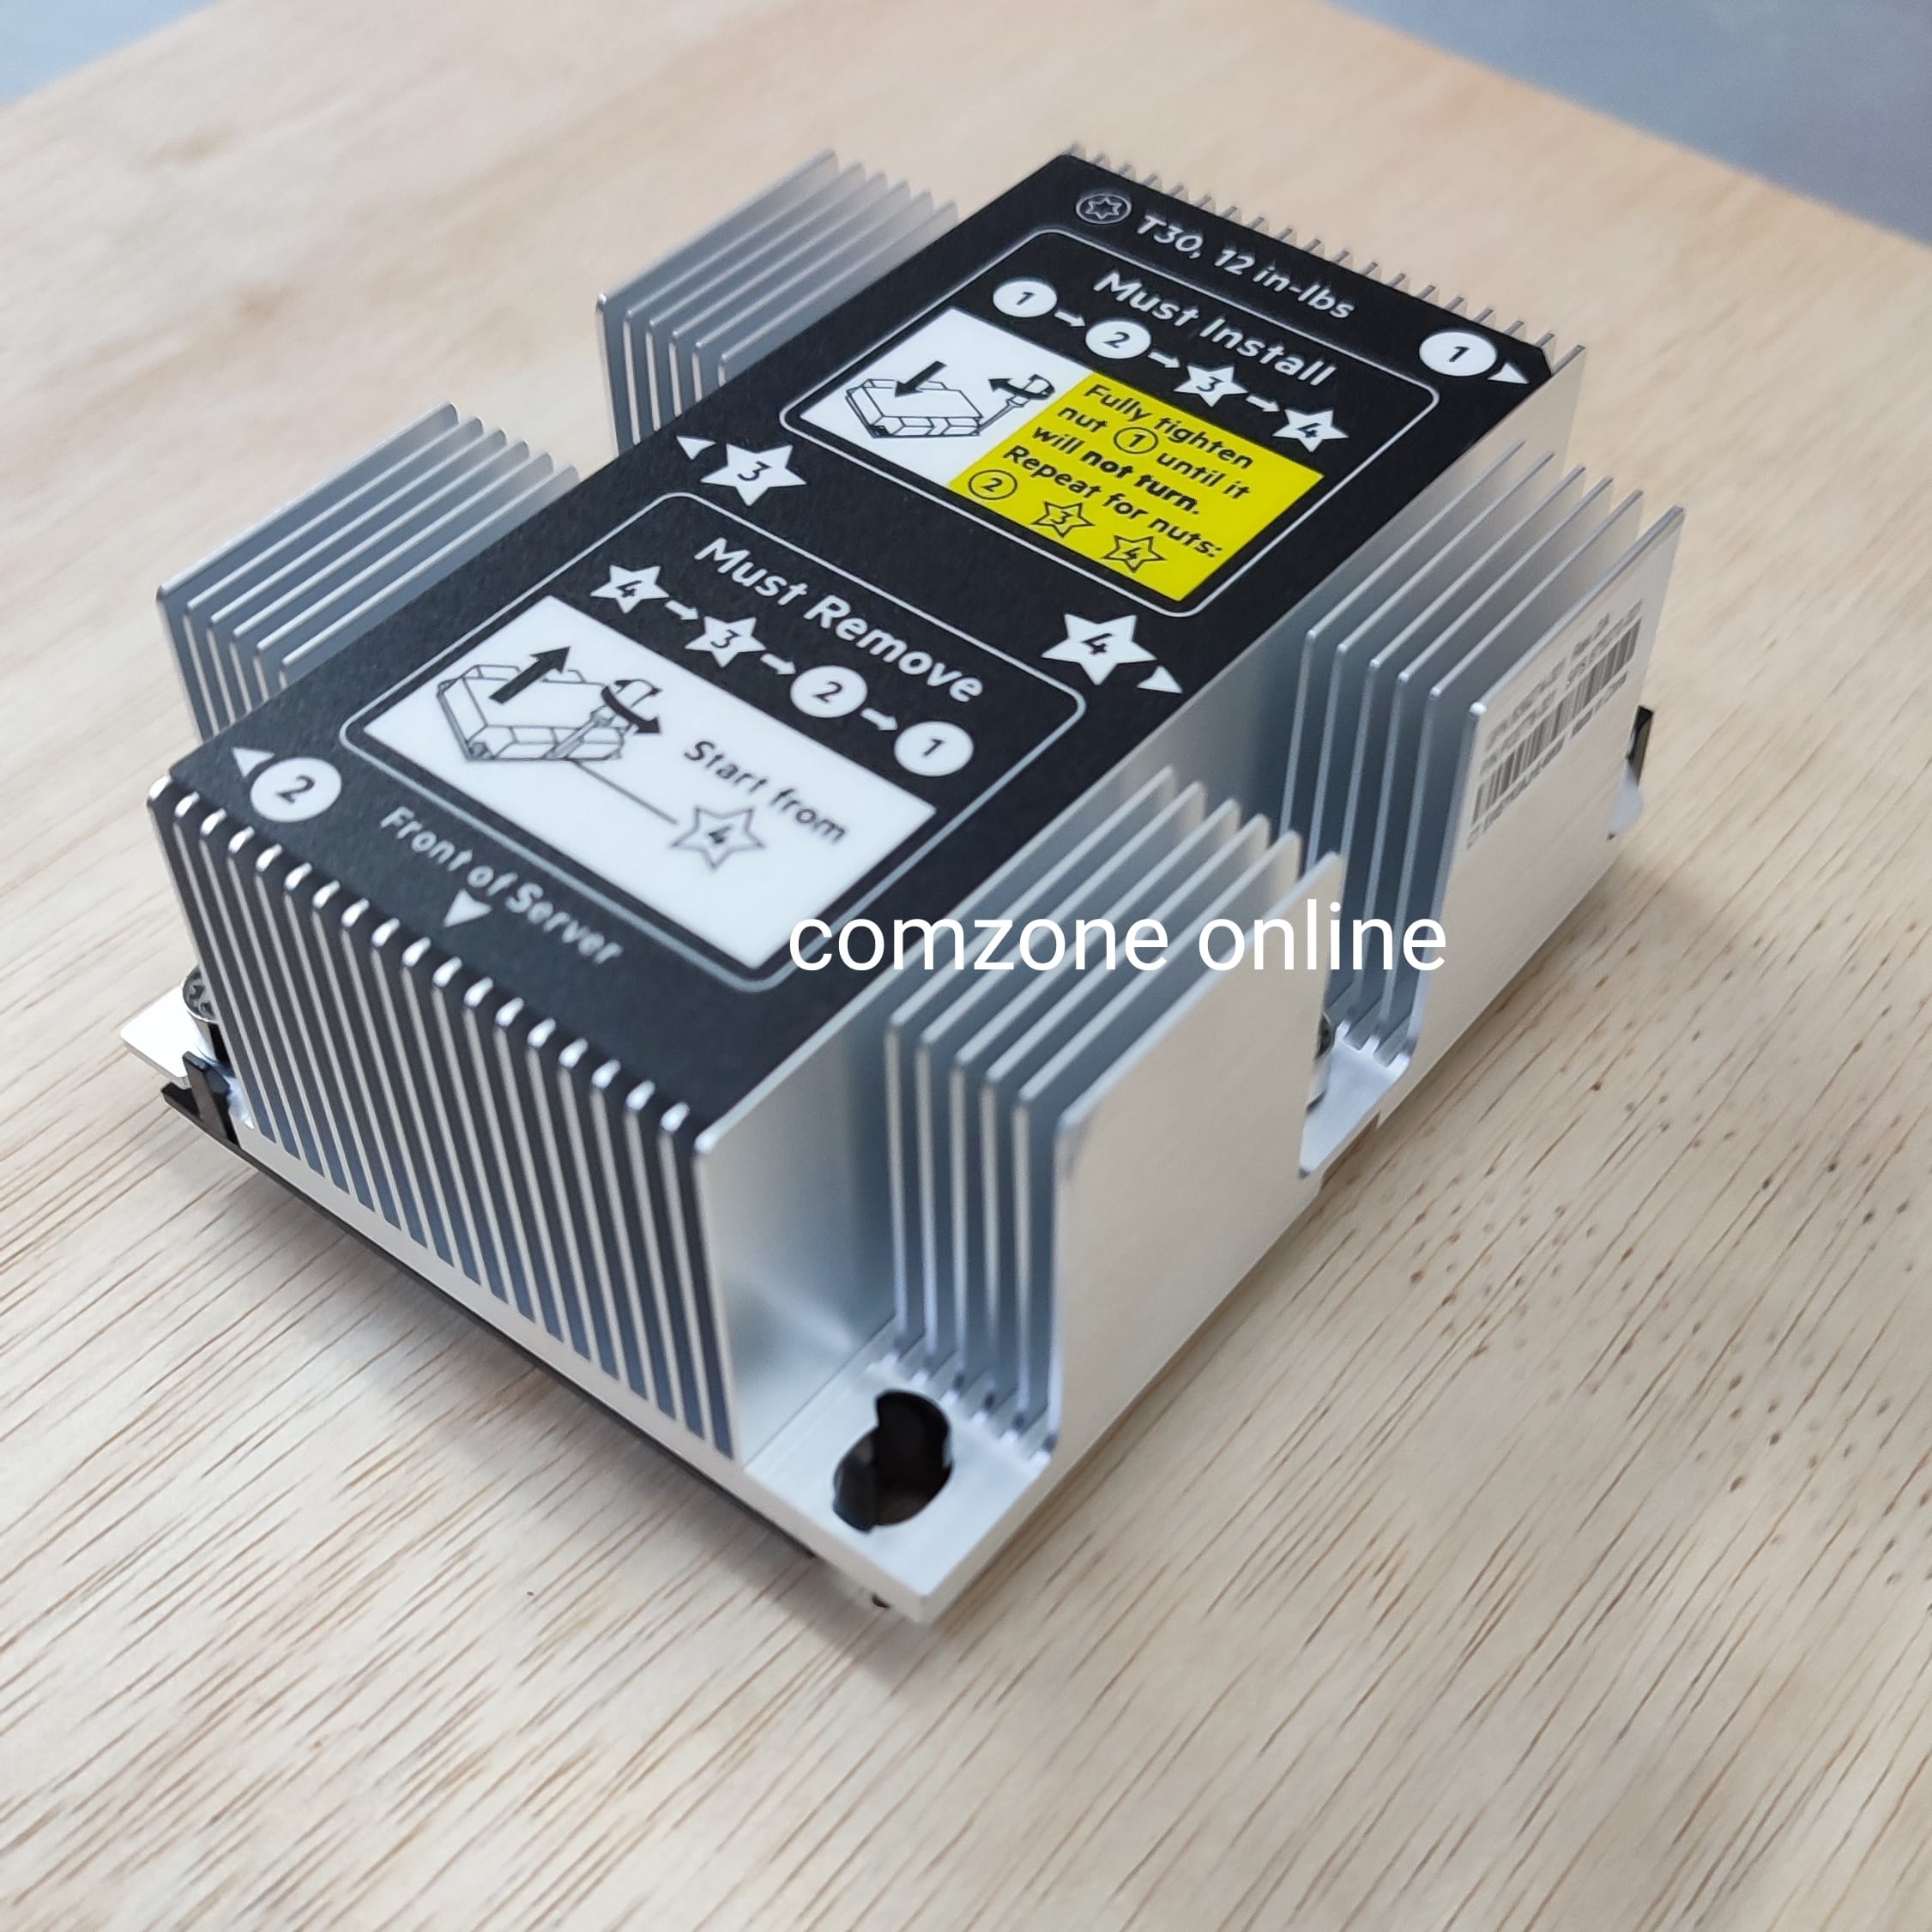
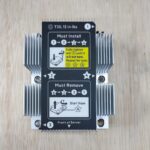
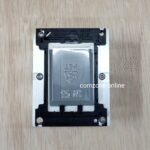
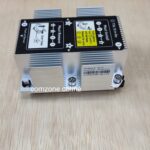
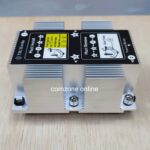
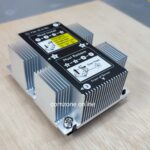
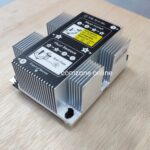
Heatsink CPU HP Proliant DL380 G10
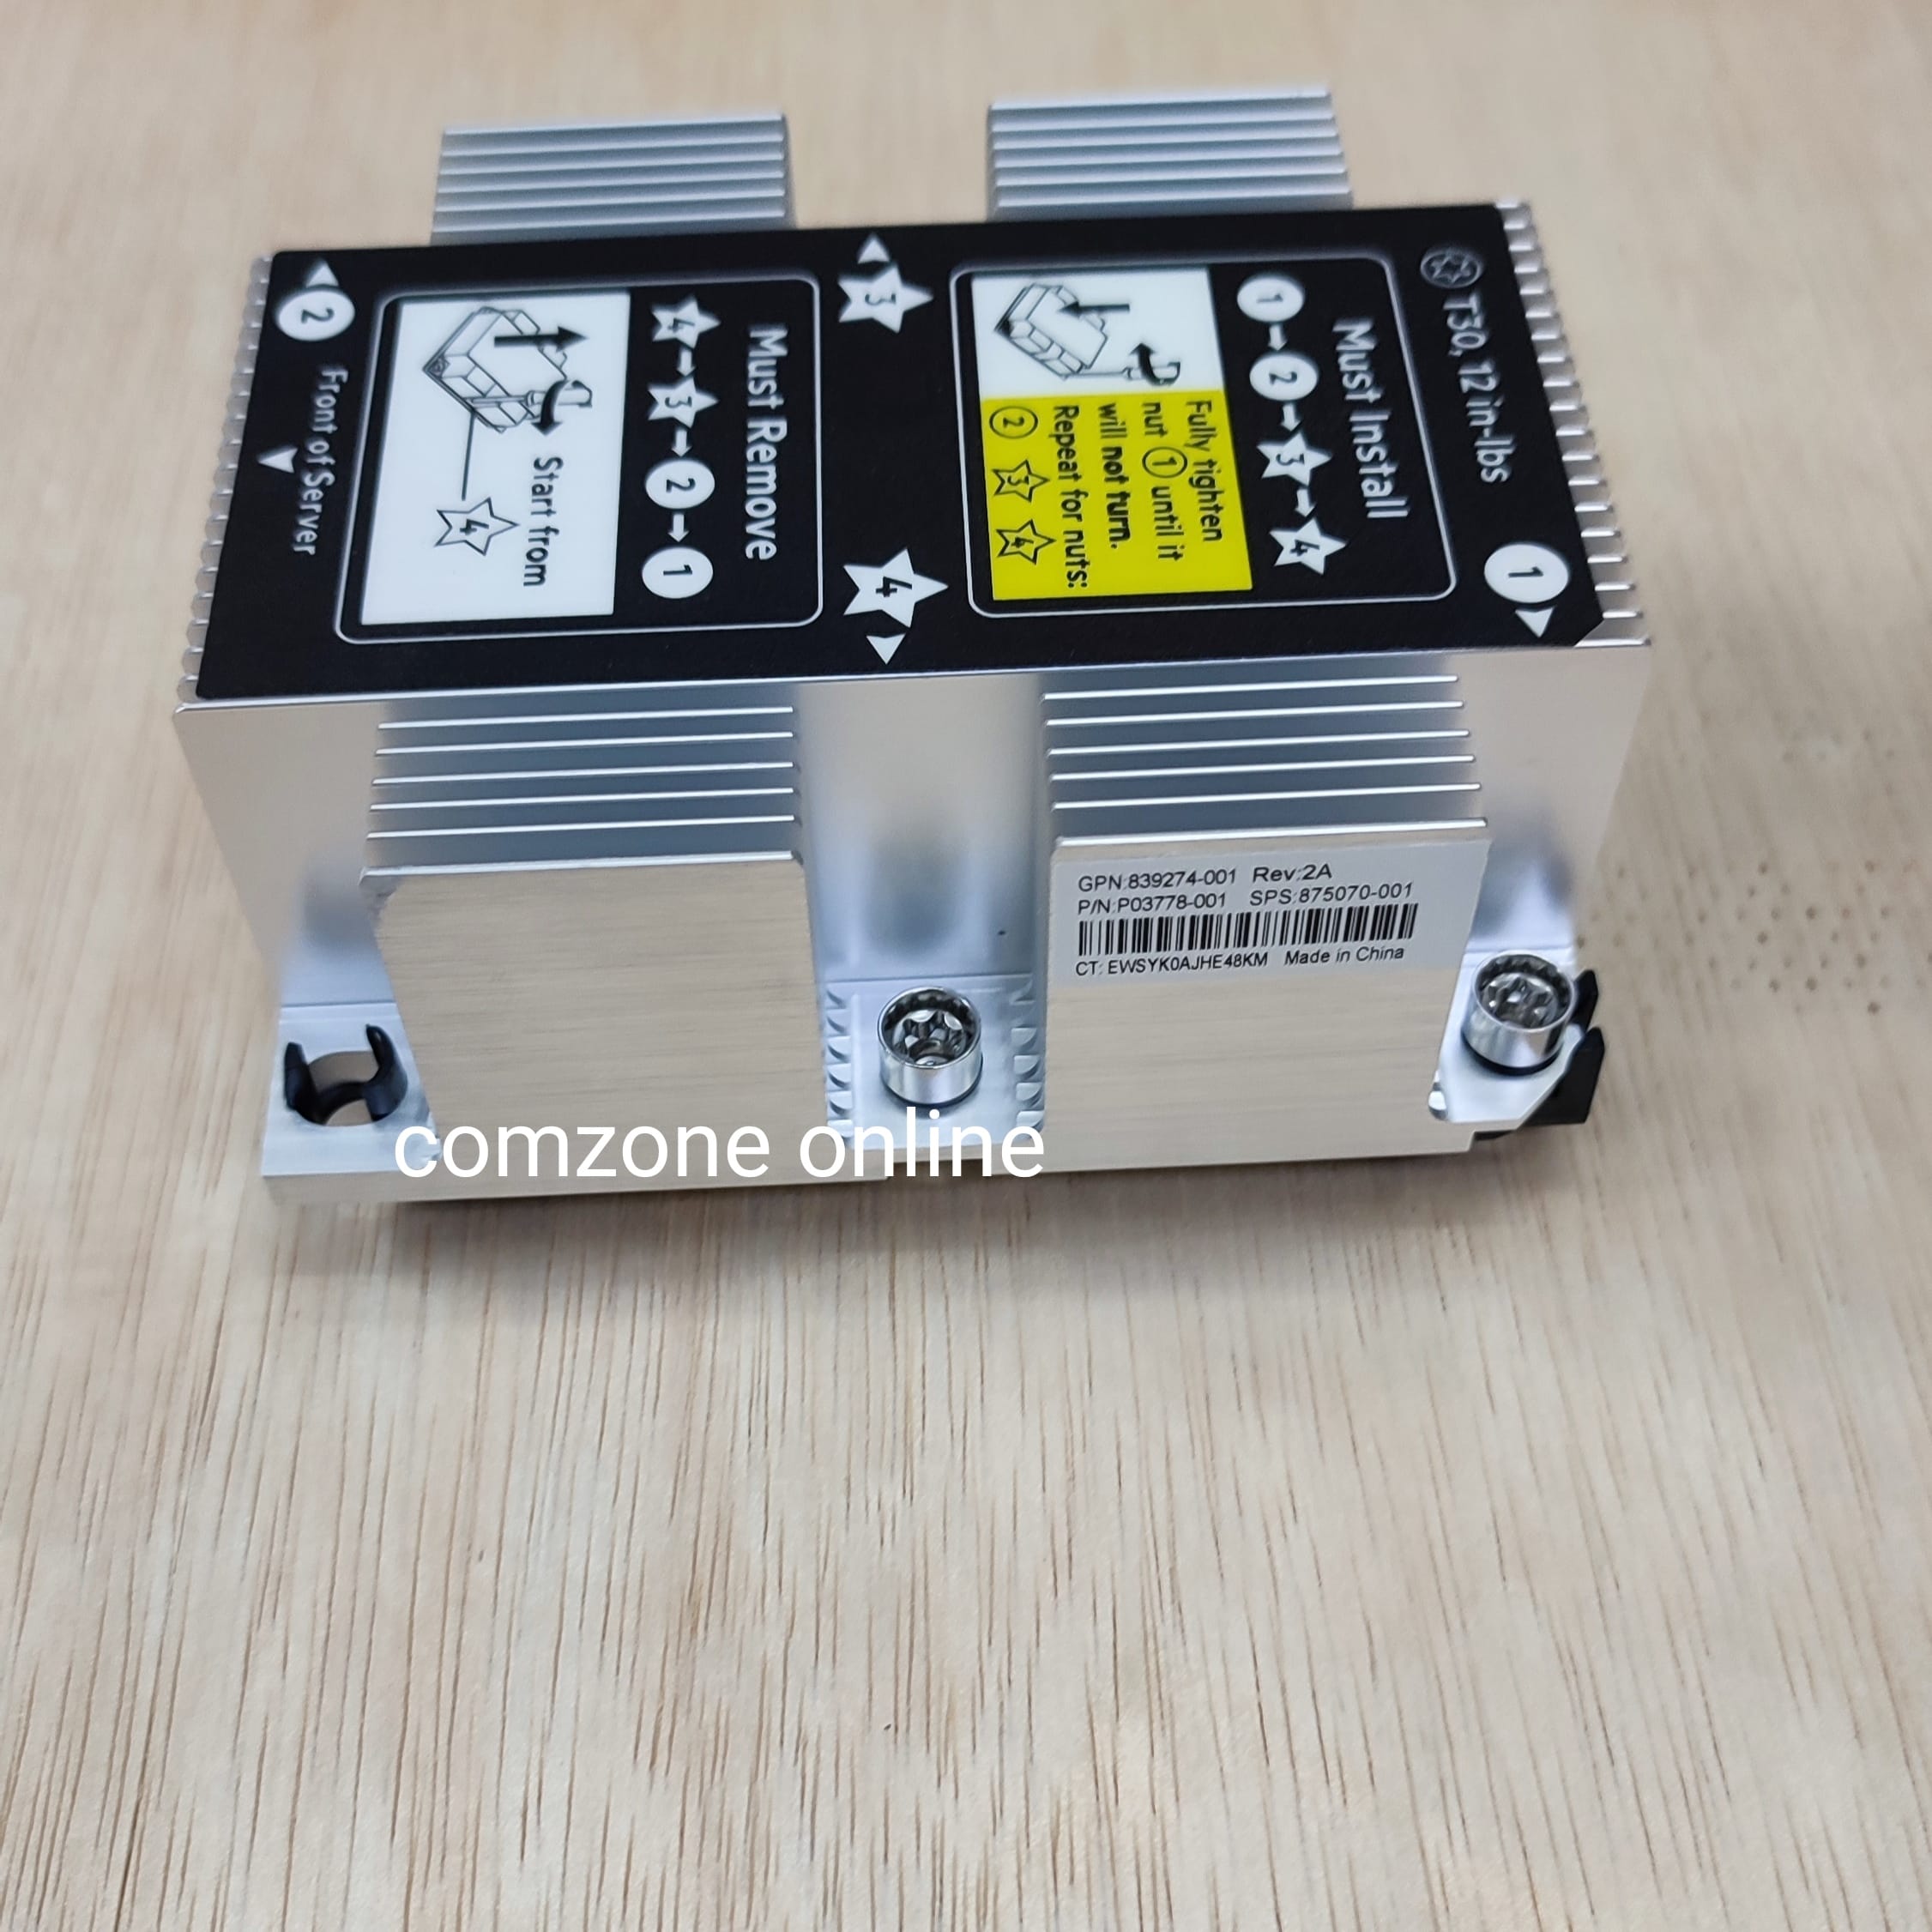
GPN: 839274-001
PN: P03778-001
Fisik / barang yg didapat sesuai FOTO
FOTO ASLI REALPICT, FOTO SENDIRI
SKU: HTSK1
HPE ProLiant DL380 Gen10, ikuti langkah-langkah berikut:
- Obeng Torx T-30.
- Tisu alkohol atau pembersih thermal paste.
- Thermal paste baru (jika heatsink baru belum memiliki thermal pad).
- Kit heatsink baru (jika mengganti unit lama).
- Persiapan Server:
- Matikan server dan lepaskan kabel daya dari sumber listrik dan server.
- Perpanjang server dari rak (jika terpasang) atau letakkan di permukaan kerja yang datar dan bersih.
- Lepaskan penutup akses server (access panel).
- Akses Komponen:
- Lepaskan penahan udara (air baffle) untuk mengakses motherboard dan prosesor.
- Identifikasi lokasi prosesor tempat heatsink akan dipasang. Skema komponen biasanya tersedia di bagian dalam penutup server.
- Persiapan Prosesor (jika memasang heatsink baru ke prosesor yang sudah ada):
- Jika ada thermal paste lama, bersihkan permukaan prosesor dan bagian bawah heatsink dengan hati-hati menggunakan tisu alkohol. Pastikan permukaannya kering dan bersih.
- Pemasangan Heatsink:
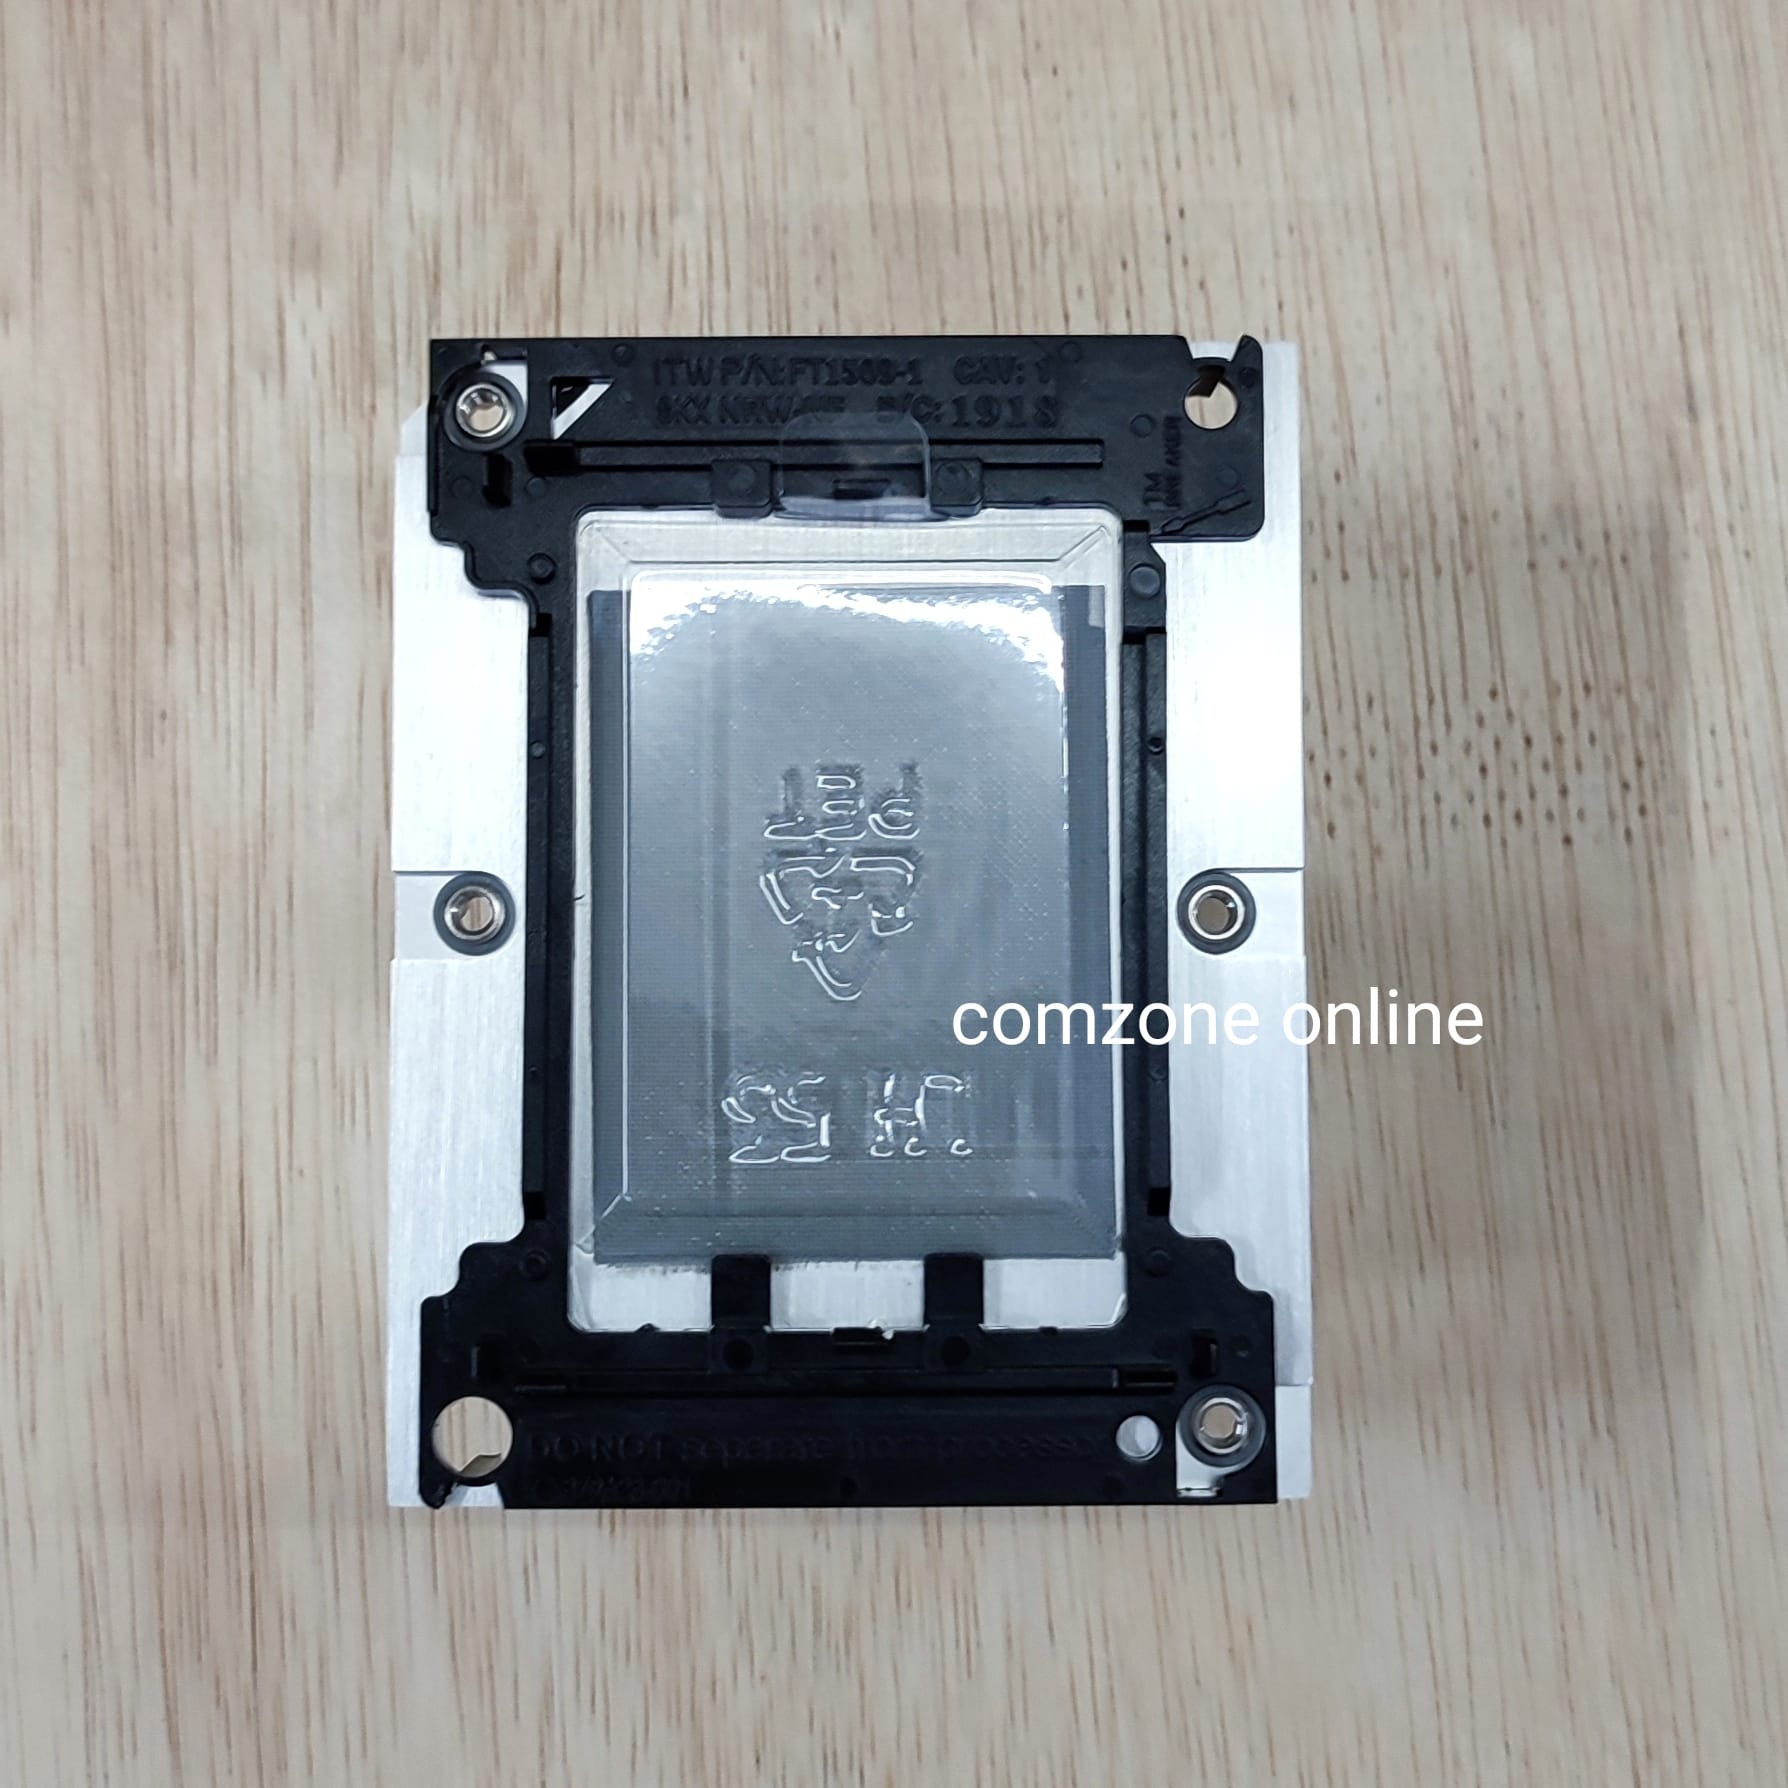
- Beberapa heatsink HPE datang dengan thermal pad yang sudah terpasang. Jika heatsink Anda tidak memilikinya, oleskan thermal paste baru secara merata ke bagian atas prosesor.
- Sejajarkan heatsink baru dengan soket prosesor. Pastikan pin atau sekrup berulir pada heatsink pas dengan lubang panduan pada motherboard.
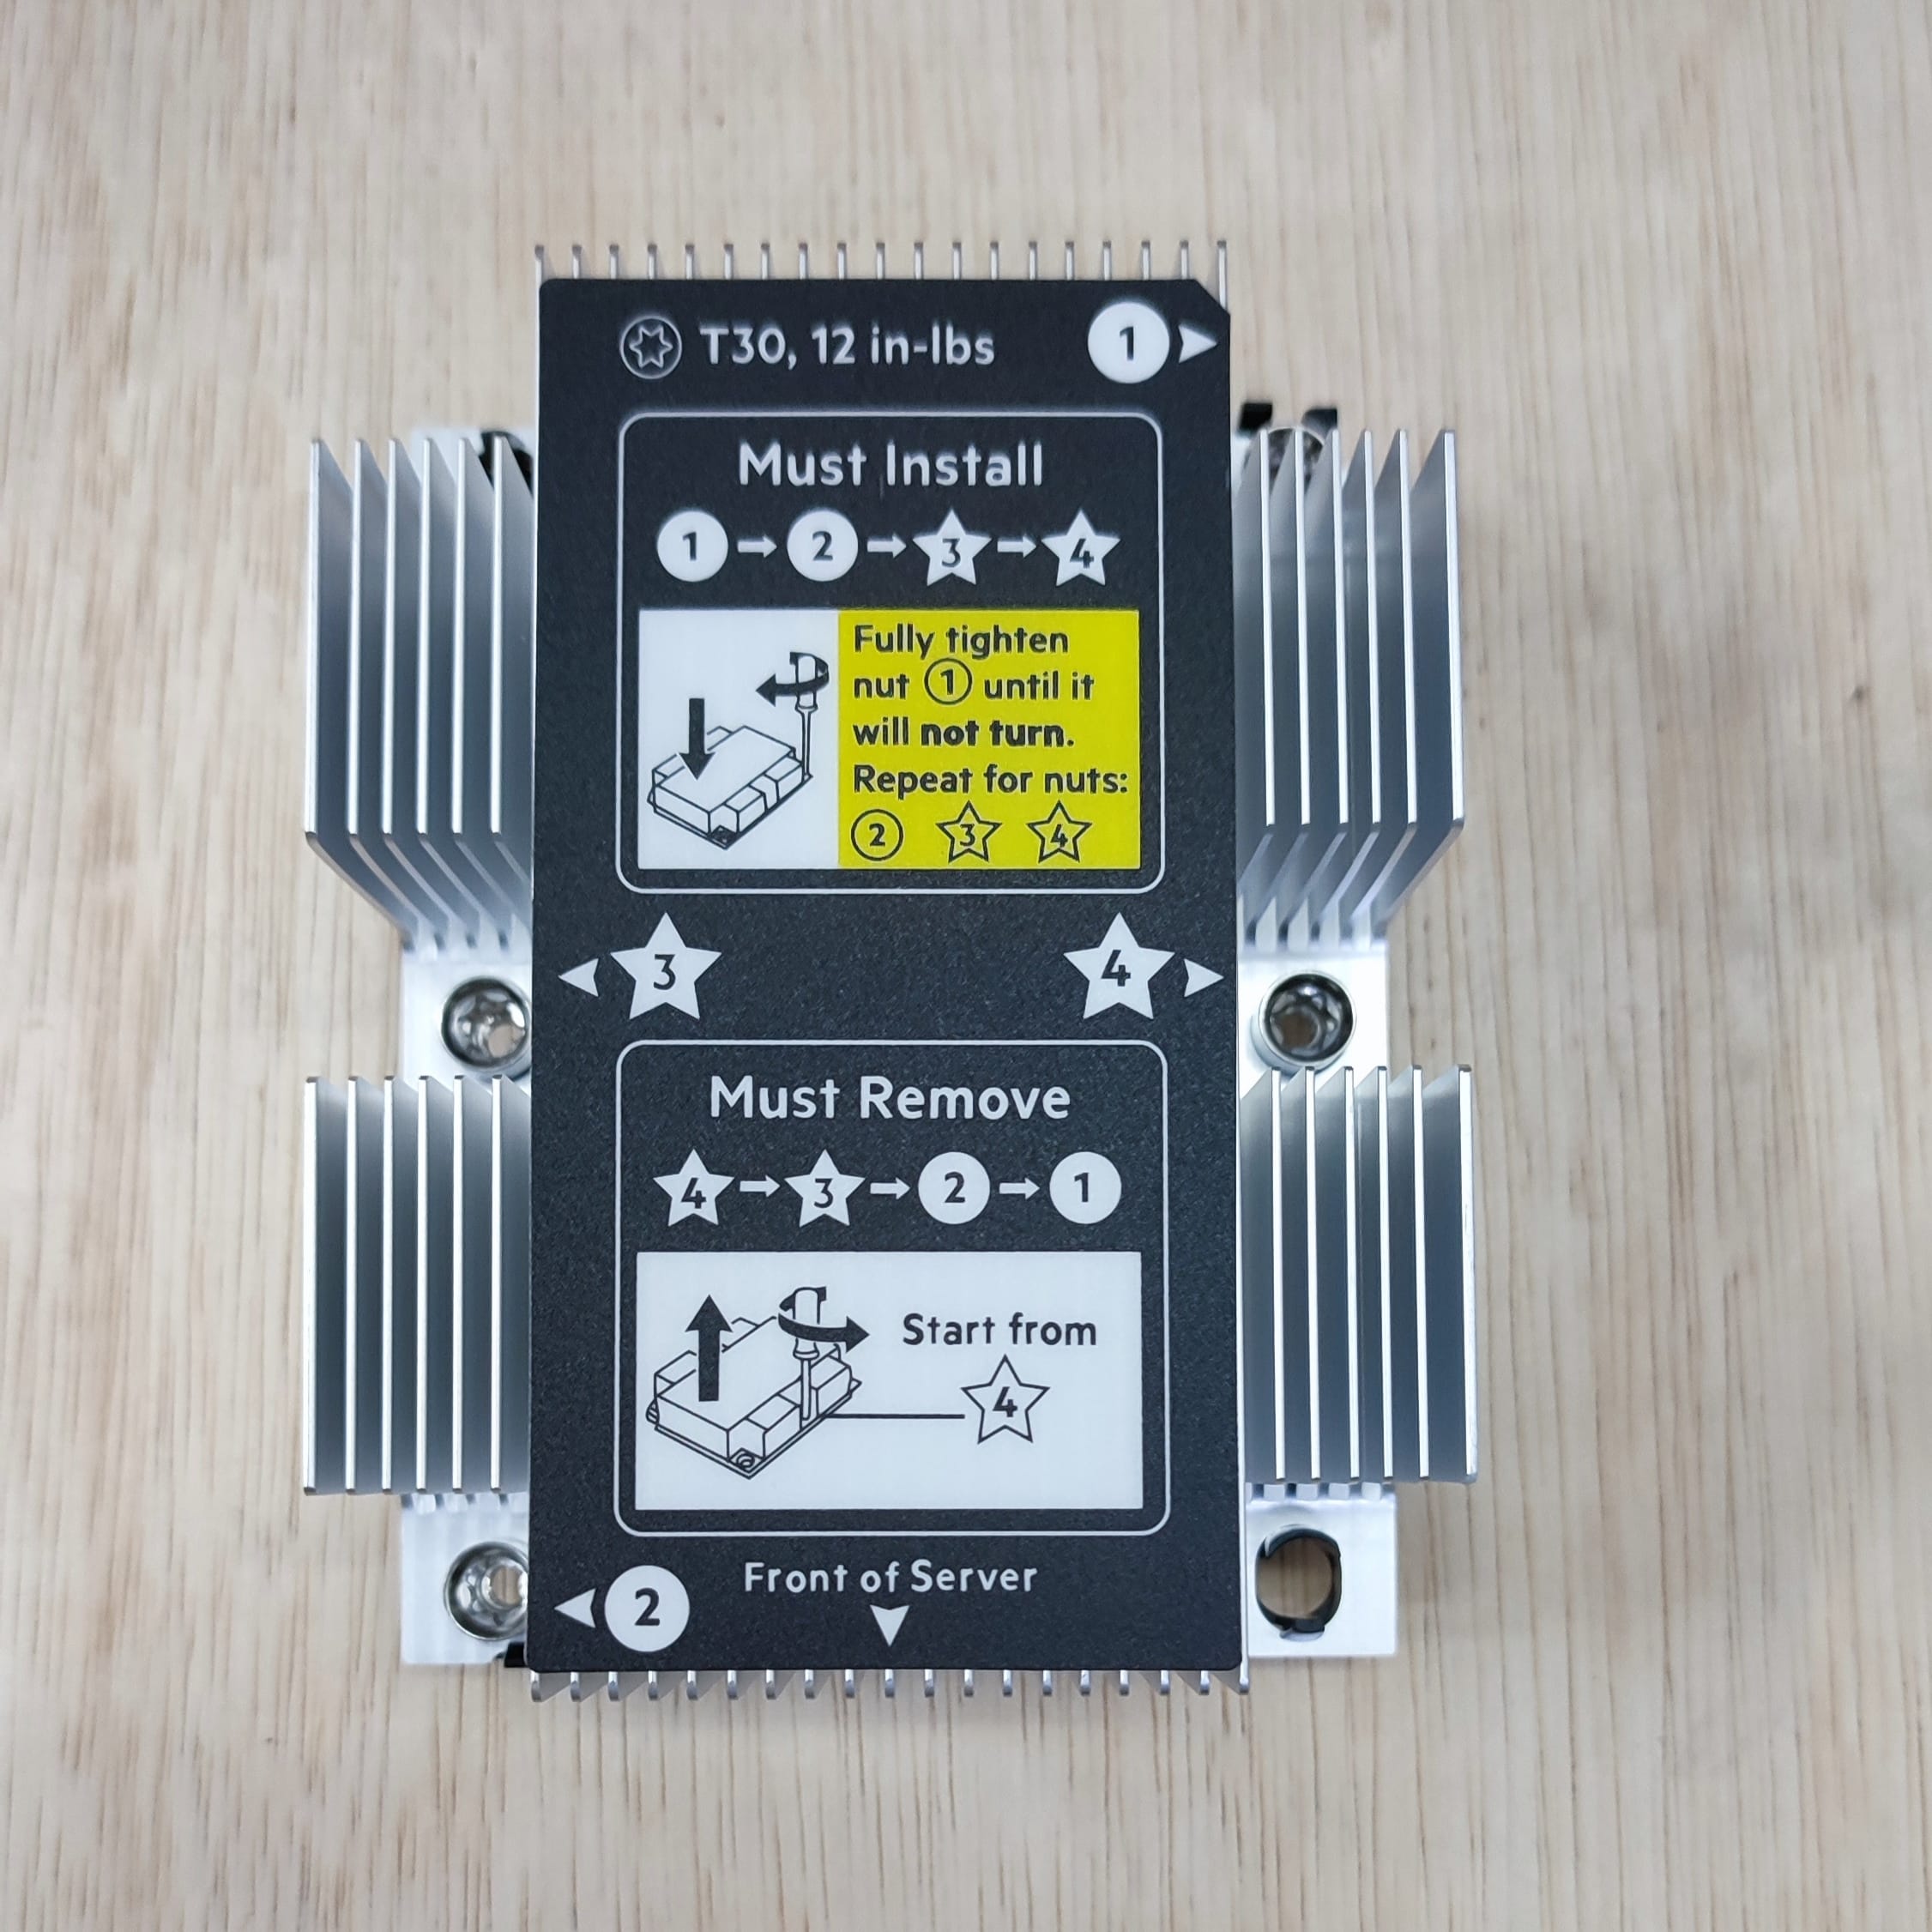
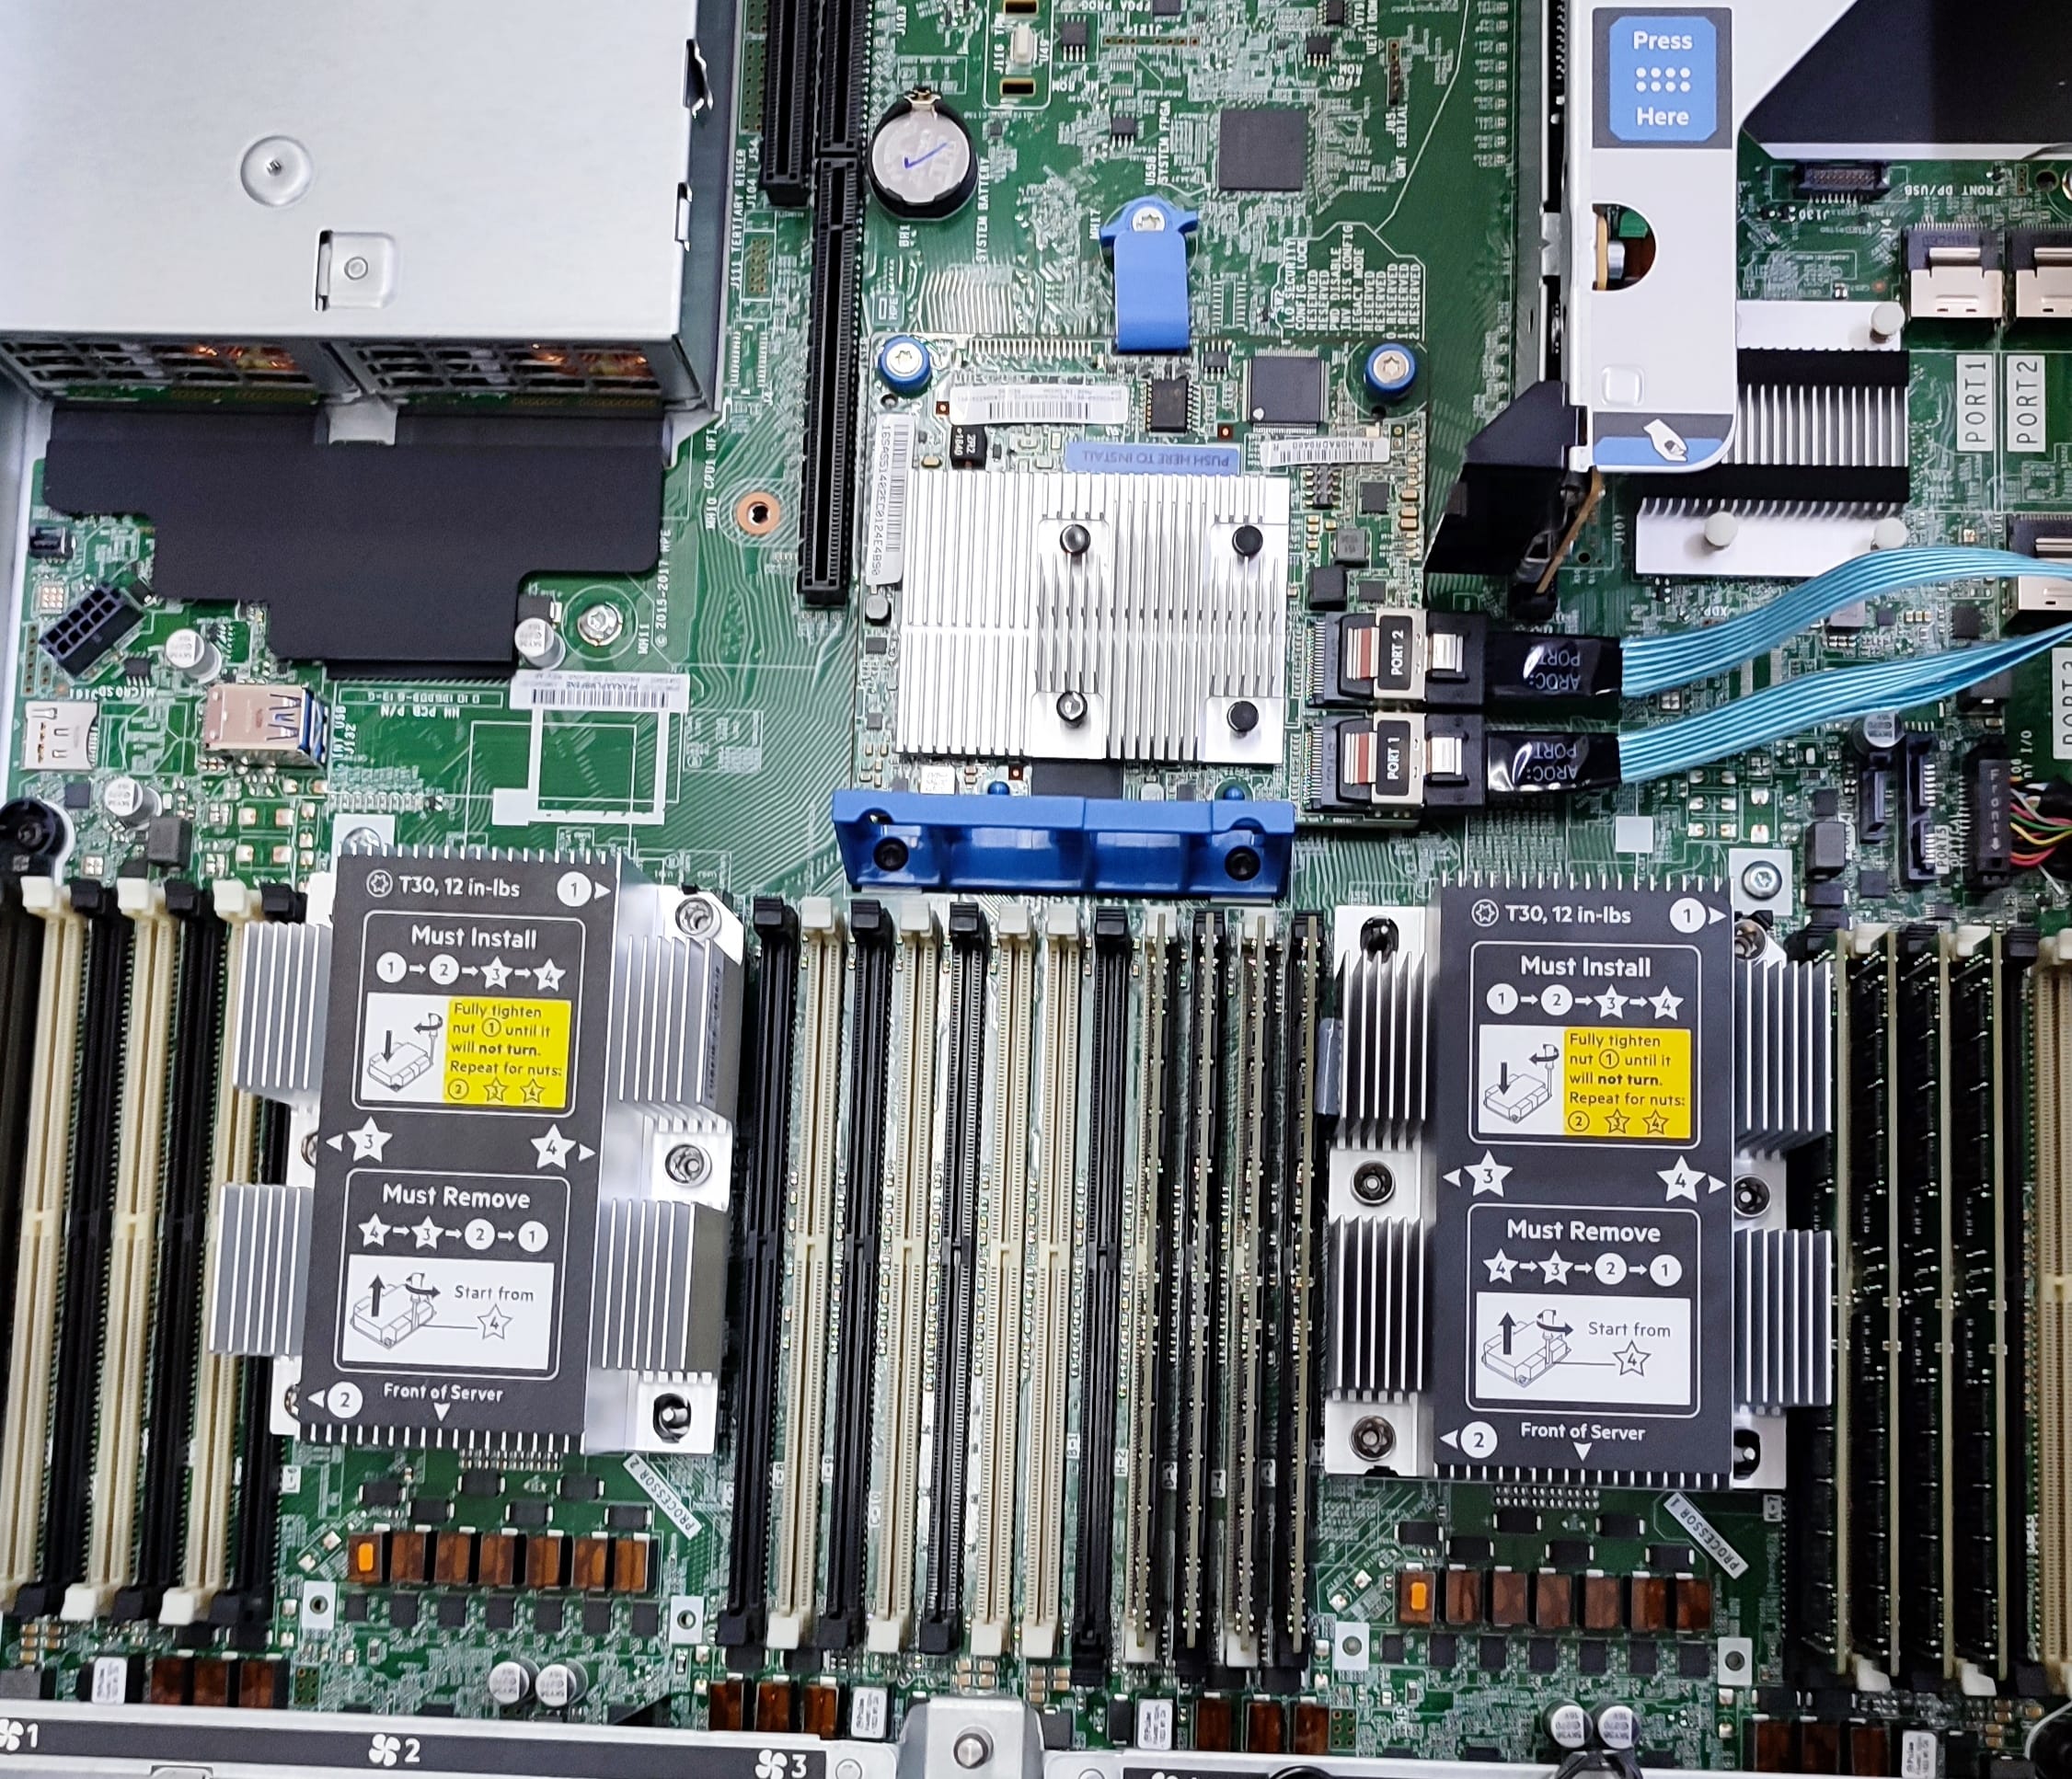
- Heatsink memiliki empat mur berpegas (spring-loaded nuts) yang perlu dikencangkan secara merata.
- Gunakan obeng Torx T-30 untuk mengencangkan mur secara diagonal (pola silang) secara bertahap. Ini penting untuk memastikan tekanan yang seimbang dan kontak yang baik antara heatsink dan prosesor. Kencangkan hingga mur berhenti berputar (sudah kencang penuh).
- Penyelesaian:
- Pasang kembali penahan udara (air baffle) ke posisinya semula. Ini penting untuk aliran udara dan pendinginan yang optimal.
- Pasang kembali penutup akses server.
- Pasang kembali server ke rak dan sambungkan semua kabel daya.
- Nyalakan server.
- Selalu merujuk pada panduan pengguna resmi HPE ProLiant DL380 Gen10 untuk detail spesifik dan peringatan keamanan.
- Heatsink standar berbeda dengan heatsink kinerja tinggi (high-performance). Pastikan Anda menggunakan heatsink yang kompatibel dengan jenis prosesor Anda (TDP).
To determine when a high performance heatsink should be installed in the server, see the server QuickSpecs (https://www.hpe.com/info/qs).
Before installing this option, be sure that you have the following:
- The components included with the hardware option kit
- T-30 Torx screwdriver
- Remove the existing processor heatsink assembly:
- Using a T-30 Torx screwdriver, loosen the heatsink nuts.

- Remove the processor heatsink assembly.

- Using a T-30 Torx screwdriver, loosen the heatsink nuts.
- Release the processor from the heatsink:
Be sure to unlatch all corners of the processor carrier.The processor remains attached to the carrier.

- Align the Pin 1 indicators on the processor and the heatsink, and then install the processor assembly to the heatsink.

- Install the processor heatsink assembly:
- Align the assembly with the alignment posts and gently lower it down until it sits on the socket.
The processor heatsink assembly will only install one way.

- Using a T-30 Torx screwdriver, tighten the nuts.
NOTE: Do not tighten the nuts more than 12 in-lbs or 1.3Nm. Overtightening could crack or damage the nuts.

- Align the assembly with the alignment posts and gently lower it down until it sits on the socket.
Heatsink for HP Proliant DL380 G10 (Part Number 839274-001)
Heatsink untuk HP Proliant DL380 G10 (Nomor Komponen 839274-001)
Instalasi telah selesai.
Pendahuluan
Server HP Proliant DL380 G10, sebuah platform kelas perusahaan yang umum, memerlukan manajemen termal yang efisien, terutama untuk unit pemrosesan pusatnya, untuk mempertahankan kinerja dan keandalan yang optimal (Saste dkk., 2018).
Tinjauan Literatur
Keharusan akan solusi termal yang tangguh meluas ke berbagai industri, mulai dari otomotif dan kedirgantaraan hingga elektronik canggih, didorong oleh meningkatnya kepadatan daya dan miniaturisasi komponen (Ali dkk., 2024) (Rahman dkk., 2024).
Metodologi
Dalam sistem elektronik, terutama yang terdapat dalam komputasi berkinerja tinggi seperti server, panas berlebih dapat menyebabkan penurunan kinerja yang signifikan dan pada akhirnya kegagalan komponen, yang menggarisbawahi peran penting pembuangan panas yang efektif (Jin dkk., 2024). Manajemen termal yang buruk telah diidentifikasi sebagai faktor penyebab 55% kegagalan elektronik, yang menyoroti perlunya strategi pendinginan yang canggih (Zahid dkk., 2022).
Hasil
Tantangan berkelanjutan ini khususnya akut pada komponen mikroelektronik modern, di mana kerapatan fluks panas yang tinggi, seringkali melebihi 100 W/cm², membutuhkan solusi pendinginan inovatif untuk mencegah masalah kritis seperti retak chip dan oksidasi termal (Al-Sallami dkk., 2017).
Pembahasan
Fluks panas yang tinggi tersebut, mencapai hingga 1 MW m-2 pada CPU umum dan 10 MW m-2 pada hotspot, memerlukan pendinginan di luar heat sink sirip aluminium konvensional, yang seringkali membutuhkan metode pendinginan cair atau perubahan fase yang canggih (Može dkk., 2020).
Kesimpulan
Oleh karena itu, pemilihan heatsink yang tepat untuk HP Proliant DL380 G10, seperti 839274-001, bukan sekadar masalah kompatibilitas komponen, melainkan keputusan teknis penting yang memengaruhi umur server dan integritas komputasi.
You may also like


Adapter Converter SSD M.2 2230 2242 to SSD Macbook Pro Retina 13 A1708
Tersedia
Rp80.000
Adapter Converter SSD M.2 Nvme to Mac Mini A1347 2014 MEGEN2 MEGEM2 MEGEQ2
Tersedia
Rp100.000
Adapter Converter SSD M.2 Nvme to MacBook Air Pro 2013 2014 2015 2017
Tersedia
Rp45.000
Ulasan
Hapus filterBelum ada ulasan.